
ai storyboard generator
AI storyboard generator for planning visual shots
Create or upload storyboard frames, keep shot briefs beside each panel, and organize visual direction before you move into AI video. ShotSlate focuses the board first so motion generation has clearer source material.
This guide is based on the current ShotSlate storyboard workflow: text notes, uploaded references, AI image frames, and canvas connections. Workflow visuals are labeled illustrations, not customer case studies.
Updated July 26, 2026
Current product workflow
From shot idea to approved storyboard frame
The goal is a usable board, not a folder of disconnected images. ShotSlate keeps each frame beside the brief that explains why it belongs in the sequence.
- 01
Draft the shot brief
Start with a scene beat, product idea, film moment, or visual note. Keep subject, setting, action, camera angle, lighting, and mood visible beside the frame you want to create.
Project text cards can hold shot direction and connect as context for image generation on the canvas.
- 02
Generate the storyboard frame
Create still frames with GPT Image 2, upload approved references, or combine both so every panel reflects a specific production choice.
Current image controls support seven aspect ratios and 1K, 2K, and 4K output sizes.
- 03
Organize the board
Arrange generated frames, references, and notes in reading order. Approve only the frames that clearly communicate the shot before moving them into video work.
ShotSlate preserves canvas relationships between notes, uploaded media, generated images, and downstream production nodes.
Storyboard frame checklist
What belongs in a storyboard frame
A good AI storyboard prompt is not just a pretty image request. It should describe the production choices that help the next person, or the next AI generation, understand the shot.
Next step: turn approved frames into video
Once the board communicates the sequence, use the storyboard-to-video workflow to animate selected frames as first-frame video clips.
Open storyboard to video AIWorkflow illustrations
See the storyboard before the video workflow starts
These illustrations show how ShotSlate keeps storyboard frames, prompts, and references in one planning space. They demonstrate product behavior; they are not presented as independent customer work.
Step 01
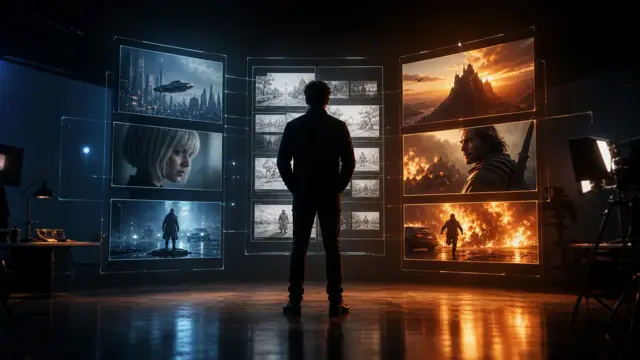
Keep shot notes beside each frame
Use the canvas to keep visual direction, prompts, references, and generated frames in the same workspace.


Step 02
Generate panels from specific direction
Use a focused shot brief and optional references to create a frame that belongs in the board.

Step 03
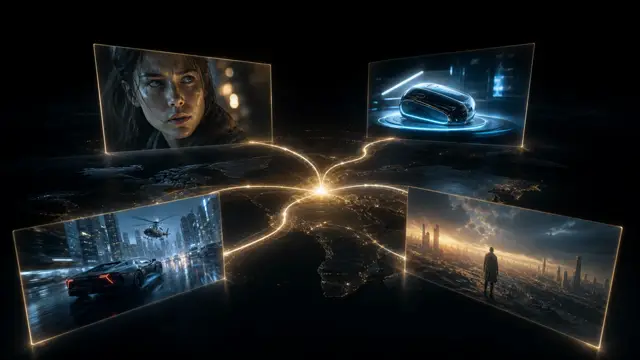
Review the board before motion
Compare frames, prompts, and references on the canvas so weak panels can be revised before video credits are spent.
Production notes
Controls available while building the board
These controls come from the current ShotSlate implementation and define what this page can honestly promise.
Limits to plan around
What an AI storyboard generator should not overpromise
Not automatic screenplay breakdown
ShotSlate helps you plan and generate visual frames. It does not claim to automatically split a full screenplay into a finished shot list.
Continuity still needs direction
Reference images and detailed prompts help, but AI frames can still change character details, props, lighting, or geography between shots.
A storyboard is not the final edit
The board is a planning layer. It should clarify the sequence before you decide which frames are ready for video generation.
Common questions
AI storyboard generator FAQ
Answers reflect the current product. This page is updated when storyboard, image, or video generation controls change.
ShotSlate Product Team
Reviewed against the current production implementation of ShotSlate text notes, uploaded references, GPT Image 2 frame generation, and canvas connections.
Build the board before you animate it
Start with a shot note, generate or upload a frame, then organize the board until every panel has a clear production role.